

Designing Your Own Embroidery Patterns: A Guide to Personal Creativity
One of the most exciting moments in embroidery is when you stop following someone else’s pattern and start creating your own. Don’t get me wrong—kits and pre-drawn designs are wonderful for learning. But at some point, you may feel the urge to make something that’s entirely yours. That’s where designing your own embroidery patterns comes in.
If the thought sounds intimidating, let me reassure you: you don’t need to be a professional artist to create beautiful designs. You just need a little inspiration, a few basic tools, and the willingness to experiment.
Why Design Your Own Patterns?
Designing your own embroidery patterns gives your projects a personal touch. It could be as simple as stitching your pet’s silhouette, a favorite phrase, or a doodle you’ve always loved. When you design for yourself, you’re not only creating art—you’re telling your story through thread.
Step 1: Start with Inspiration
Every pattern starts with an idea. Look around you:
A favorite flower in your garden.
A line from a poem or song.
Simple geometric shapes (triangles, circles, lines).
A photograph of a loved one.
Inspiration doesn’t have to be big or grand. In fact, the simplest shapes often make the best embroidery patterns.
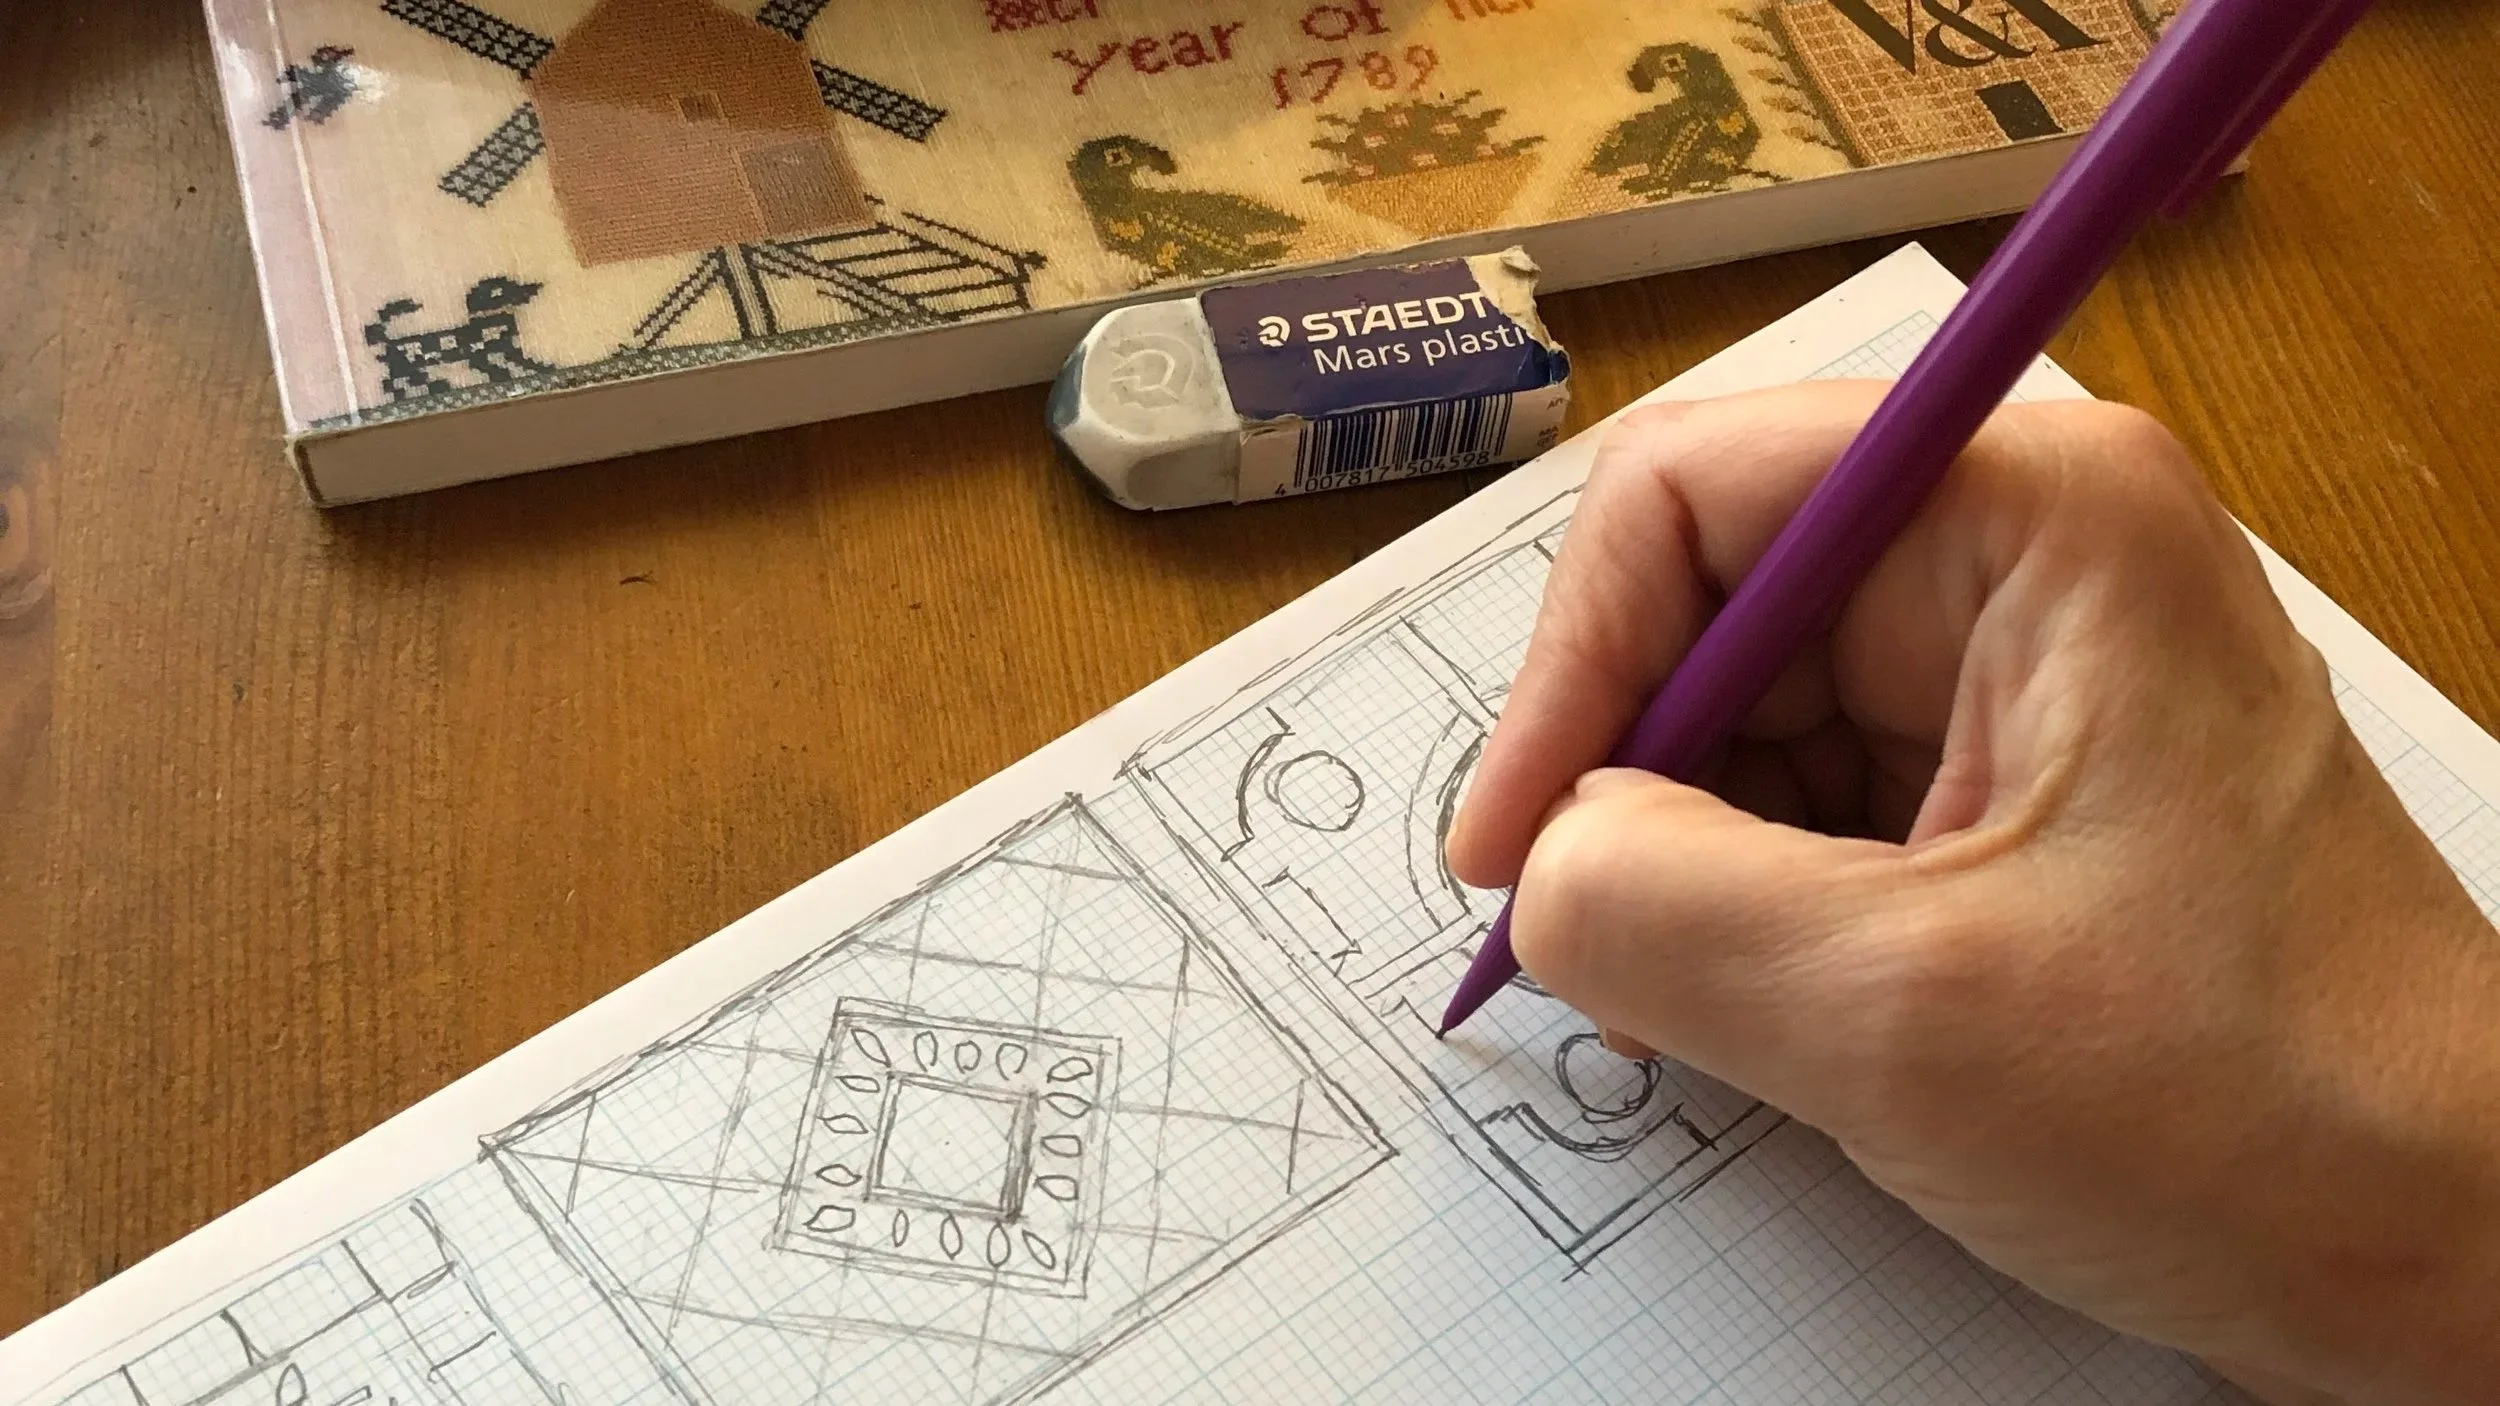
Step 2: Sketch It Out
Don’t worry if you’re “not good at drawing.” Your sketch doesn’t have to be perfect—it just needs to capture the idea. A few ways to get started:
Freehand sketching with pencil and paper.
Tracing an outline from a photo or object.
Digital drawing apps if you prefer working on a tablet.
Keep your lines clear and simple, since embroidery works best with defined shapes.
Step 3: Transfer Your Design
Once you’ve got a sketch, it’s time to move it onto fabric. There are a few easy ways:
Water-soluble pens – draw directly onto the fabric.
Iron-on transfer paper – print your design and press it on.
Lightbox method – place your fabric over your sketch and trace it.
If you don’t have a lightbox, a sunny window works just as well.
Step 4: Choose Stitches That Fit
Think of stitches like brushes in painting. Each one creates a different effect:
Outlines → backstitch or stem stitch.
Filling shapes → satin stitch or long-and-short stitch.
Texture → French knots, seed stitch, or chain stitch.
Play around and mix them—it’s your design, after all.

Step 5: Add Your Signature Flair
This is where your creativity really shines. Maybe you love bold, contrasting colors. Or maybe you prefer muted, earthy tones. Perhaps you want to outline everything in black for a graphic style.
The details you choose—colors, stitch combinations, even little “imperfections”—are what make your design unmistakably yours.
Step 6: Practice, Adjust, Repeat
Your first pattern may not look exactly as you pictured it—and that’s perfectly okay. Designing embroidery patterns is a learning process. Each attempt will teach you something new, and before long, you’ll have a library of your own unique designs to choose from.
Finally…
Designing your own embroidery patterns isn’t about creating flawless art—it’s about making something that feels personal and meaningful. With a little imagination and practice, you can turn anything that inspires you into stitches on fabric.
So grab your sketchbook, thread your needle, and let your creativity guide you. Your next masterpiece is waiting to be stitched.